Part 2: How to Organize Your Zillion Baby Photos
/We’re back with our second installment of this series. I’m collaborating with kids and family photographer Jaye McLaughlin of The Life in Your Years Photography to bring you professional advice in addition to my own tips. Click here to read our first post about how to best store and back up your photos. I'll wait.... You back? Now that we’ve safeguarded them, let’s move on to the next step.
But first, have you entered our giveaway? Win a Family Four Pack of tickets to LEGOLAND Discovery Center at Ridge Hill in Yonkers! To be entered in the drawing, email info@babygotchat.com with your full name, hometown, and phone number. I'll be collecting entries until July 31st.
STEP 2: ORGANIZE YOUR PHOTOS
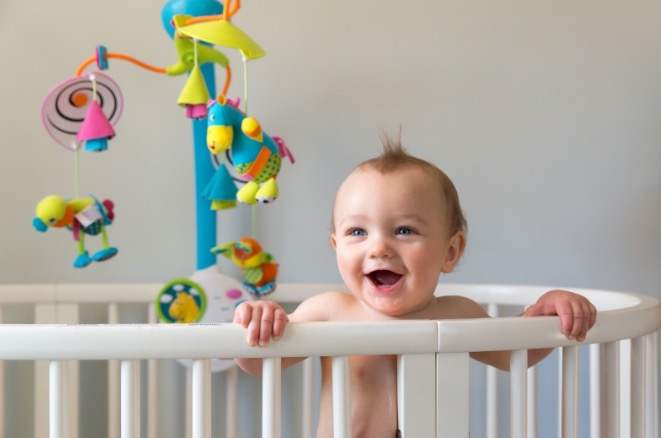
PHOTO BY JAYE MCLAUGHLIN
I already mentioned that for every cute photo I have of my kids, I have 5 or 6 outtakes that I can’t bring myself to delete. If you have more willpower than me and always pare down to your favorite shot the moment you take photos, this next part will be much easier. If you don’t, you’ll eventually have to go through and decide which shots to use in a printed album or photo book. The best way to do this?
Note: This walkthrough uses Google Photos as the storage app, but no matter where your photos are stored, the process should be similar.
Before we can sort, we need to define the end product. My goal is to design annual photo books of my children that use about 75 iconic shots that define the year. I probably have three times that many cute shots, so what do I do with those extra pictures that don’t deserve eternal banishment to the digital world, but also shouldn’t be clogging up a curated photo book?
I print them out in 4x6 size and put them into old-school, your-mom-made-em-in-the-80s photo albums. This lets me enjoy all the good photos AND design a photo book that isn’t 300 pages long and/or crammed full of photos scaled to 1” size.

PHOTO BY JAYE MCLAUGHLIN
So, with that end in mind, I sort all my photo files into a "to print" digital album in Google Photos, and then out of those selects I create a smaller "photo book" album of about 75 favorites. Sorting them twice might seem like more work, but I prefer it because when it comes time for the photo book selects, I’m only looking at my favorites, not everything, so I can get a sense of how the photo book collection will look as a piece (it’s easier to notice if your kid is wearing the same outfit in four photos when you are going through 100 photos versus going through 500).
Plus, the first time you sort, you can do it more easily. You're just asking yourself: Yes or No? Print or don’t? I don’t have to tear my hair out wondering “Is this PHOTO BOOK good?” Plus, you’ll want 4x6 original prints of all the photos you end up using in your photo book since they’ll probably get cropped or altered as you design the book.
It may be an easy sort, but it’s also tedious, so if you have a whole year’s worth of photos to go through you might want to break it into smaller chunks. I used to work on this during my morning commute because it’s the perfect activity when you’re groggy.
Here’s what to do: Starting with the photos from January 1st and working to the end of the year, you’re going to look at every photo you have and decide (quickly, gut instinct), if you want to add this to your 4x6 print pile. If there are several versions of the same pose, pick the best one. I create an album in Google Photos called “2017 [kid’s name] Selects” and add the photos I want to keep to this album. When you’re done, you should have twelve months of printworthy photos in the one album of selects. Don’t be scared by how many you have. 4x6 prints are so cheap, you’ll probably spend more on the actual photo albums than you will filling them.
A NOTE ABOUT RETOUCHING: I know we all want to be thinner with no visible pores or bags under our eyes, but when you’re creating an album of family photos, try not to go crazy worrying about retouching. It will just suck up your time and no one will notice or care about the difference. If you need a little more convincing, read this article, or repeat to yourself about people noticing your flaws: “The ones that care don’t matter, and the ones that matter don’t care.” The same goes for Instagram-style filters. You can worry about making every photo amazing in your final photo book, but for the 4x6 prints, the original lighting and coloring is fine.
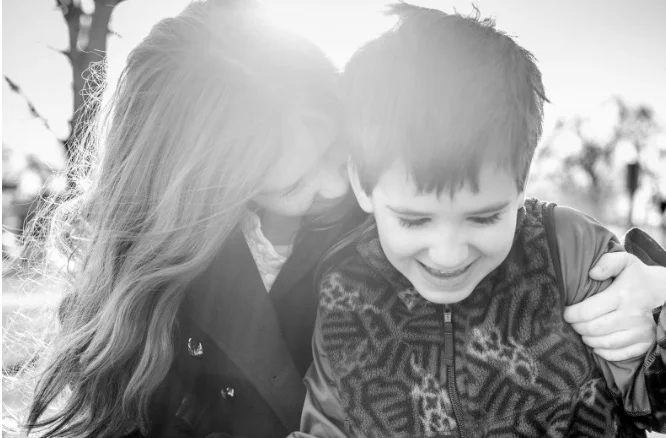
PHOTO BY JAYE MCLAUGHLIN
Now that you've made an album of favorites, you could stop there and bask in the fact that you’ve already done more than most moms. Then you just have to upload the album you made onto a photo printing website (I prefer adoramapix.com prints in “luster” finish) and print them out. If you don’t have a deadline and can wait for a deal, you can upload your pictures now and print them once you get a discount code.
Or you can keep working to make a photo book. For this you’ll want about 35-75 fantastic photos. To find these, I go into my “selects” folder and start picking the best of the best. I copy them to another album called “[kid’s name] Best of 2017” This album should be a lot quicker to fill, as you’re going through fewer photos and you’re looking for only the iconic and most memorable moments of the year.
Jaye’s got a similar system for sorting through the hundreds of pictures she takes every year with the goal of printing an annual photo book. Her folders of “faves”, “to include” and “to exclude” piles are made digitally within Adobe Lightroom, but the same principle applies: do the (brutal!) sorting early on so you can make the actual photo book design at the end of the year a much less behemoth task. She says:
"If you’re like me, you’ve got a LOT of photos. Start the design process with the expectation that you’re NOT going to include every. single. photo. A little organization on the front end will save you tons of time when you’re designing the layouts. Knowing going in which photos will be included in the book, and which will be the “heroes” will make designing the actual pages much easier, since you’ll have only the actual photos you’re using in front of you and you’ll know from the start which ones you want to highlight in the design."
Jaye's “to exclude” photos don’t get printed the way they would with my system, but she’s got a sort of consolation prize for many of the ones that wouldn’t make it into her highly curated annual book:
I use Chatbooks! Chatbooks are small bound books of photos automatically collected and mailed to you. How does it work? They use a middle man: Instagram. Even if you don’t use Instagram regularly, you could start posting your favorite photos there throughout the month. My goal is to make sure my favorites get printed, and I know that if they don’t make it onto Instagram, they don’t end up in print.
A Chatbook is created once you’ve reached 60 photos, however long that takes. You get the opportunity to choose a cover photo and make any changes, and a few days later it’s on its way.
You did it! Now we can move on to our third installment: Displaying your photos. We’ll talk about designing the photo book and getting the best out of the pictures you have. Thanks to Jaye McLaughlin for her tips! Be sure to check out her website for more info.
That's it for this week! This is your last chance to enter our giveaway! Win a Family Four Pack of tickets to LEGOLAND Discovery Center at Ridge Hill in Yonkers! To be entered in the drawing, email info@babygotchat.com with your full name, hometown, and phone number. I'll be collecting entries until July 31st. As always, check our website for events and weekly library programs.
See you next time!
Andrea